
Back again with a basic tutorial. This one is how to make cards. This will cover how to add cut out text, add written text, weld a shape to the cards and weld text to the card.

You will need a couple things to do this card. A card base (#M41F28), score line (#M48E16). Later I will be using a heart for the shaped card (#M3DC16) and Cricut Alphabet. All of these shapes and alphabets are free. Many of these images have layers. Ungroup.


Add the score line. Change the size to the height. The easiest way to line this up is to place the card up in the corner. Then change the position. For x it will be 4.25 (or 5.5 for horizontal card). Y should be zero.


Add score line like shown before, select all and attach.
Hope you enjoyed this tutorial. Check other tutorials at my {tutorial page}.
You will need a couple things to do this card. A card base (#M41F28), score line (#M48E16). Later I will be using a heart for the shaped card (#M3DC16) and Cricut Alphabet. All of these shapes and alphabets are free. Many of these images have layers. Ungroup.
Show all the layers, by clicking on the eyes that are crossed out. Delete any layers that are not needed.
You will need to choose what size you want the card to be. Remember one side will be double the size needed. When you go to change the size in the edit box, it will be locked so when you adjust one size, it will adjust the other size to keep it in proportion. Problem is, when you change the size to 5.5, the other size to 7.79. Which is not the size to make A2 card.
Now you can keep this size if you don't really care about the size. If not, you can click the lock and adjust each size on its own.
Add the score line. Change the size to the height. The easiest way to line this up is to place the card up in the corner. Then change the position. For x it will be 4.25 (or 5.5 for horizontal card). Y should be zero.
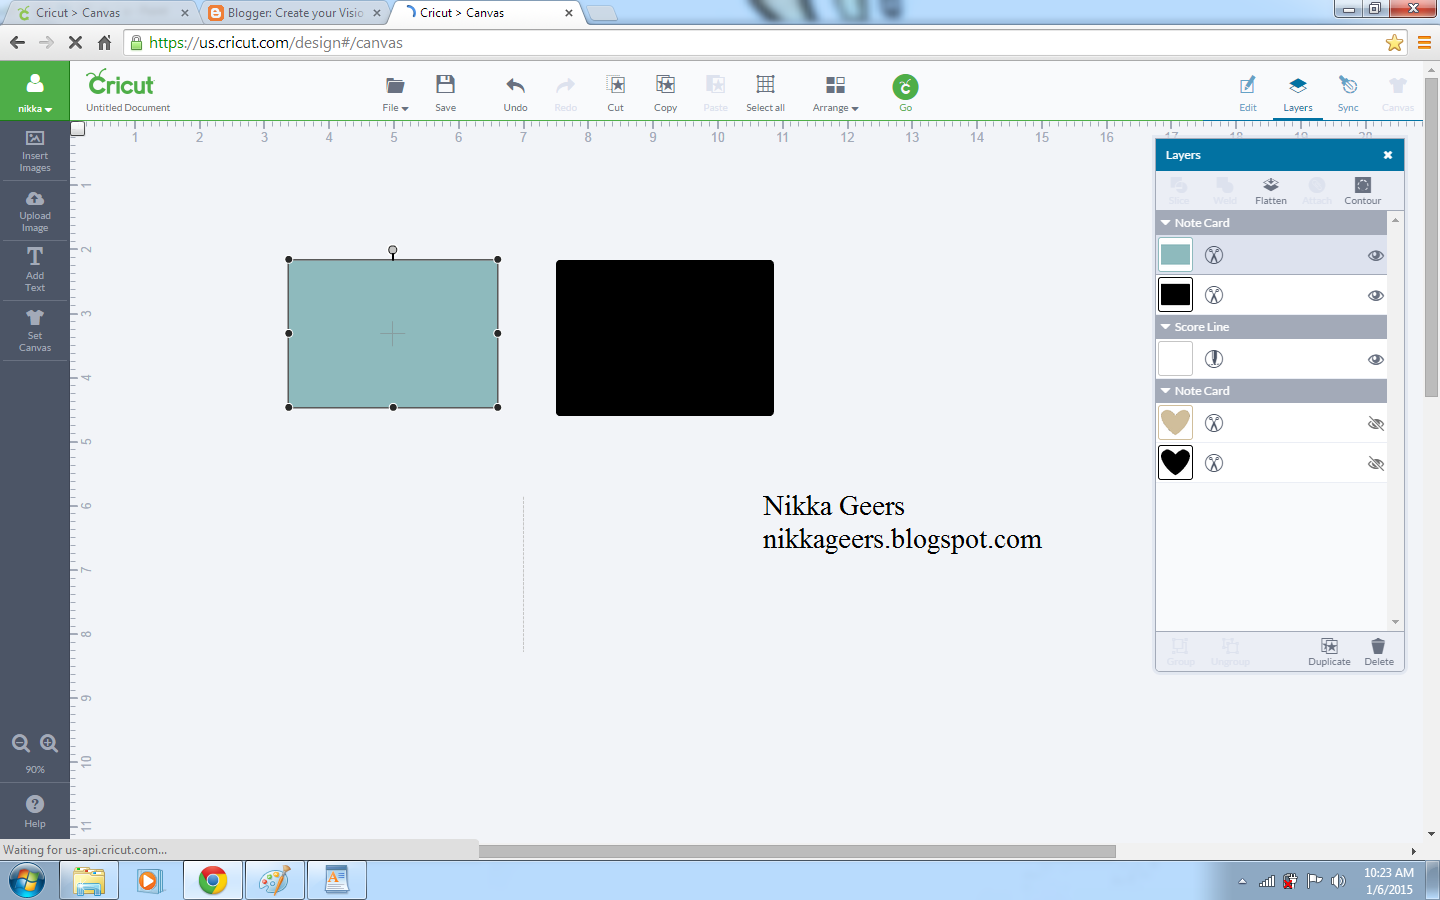
First we will do a cut out word. This will also be the same for an image. Add text. Place on card where you would like it. Select all. (sorry the arrow points to arrange but you want the one next to it) Attach. This will now cut the word out and score down the center.
For writing, add text. Change to writing style. Place were you want it.
Select all and attach. This is write on the card and score.
For to do a shaped card. Choose the shape. Place where you want it. For A2, you will place the edge at 8.5. Change the card base to where you want the card to end and the shape to start. With the heart, I placed it in the center of the heart.
Select both layer and weld.
You image is now welded together.
Now place the score line in the center like done before. Select all and attach.
Next is how to do cut out text. Add text. To do this, you need all upper case letters. They need to be the same height. Rotate. I just found this out, but see the circle surrounded by little circle. You can click on one of the circle and it will rotate to that position. Quick and easy.
Make sure to overlap the letters on the card. Select text and card base. Weld.
Add score line like shown before, select all and attach.
Hope you enjoyed this tutorial. Check other tutorials at my {tutorial page}.
To make sure you don't miss out on any new tutorials, artwork or members only specials, as it is easy to miss posts on Facebook and I don't post to all of them, join my {Facebook group}
Subscribe to my {Youtube Channel} for updates on new Create Your Card videos.
I offer one on one classes for Cricut Design Space. Stop by for more {details}.
Hello, I have a question to go along with this. I am trying to make a square with Happy half above the square and half in it, I try attaching and it still cuts the square line so my letters done stay attached, any way to do this?
ReplyDeleteThank you so much for the tutorial. I only have my Cricut a month or so and I haven't quite figured everything out yet. I was so frustrated with trying to make a cutout in a card that I was cursing like crazy. Lol.😀. Your tutorial had me getting it done in less than 5 minutes. And I haven't even read the whole tutorial yet. Thank you so much. No more hours and hours cutting things by hand. Yay! 😆 Drop by and check out my blog and me what you think of it. http://newfiesusan2013.blogspot.ca/?m=1
ReplyDelete