Tuesday, January 6, 2015

Cricut Explore Tutorial - How To Card Tutorial

Back again with a basic tutorial.  This one is how to make cards. This will cover how to add cut out text, add written text, weld a shape to the cards and weld text to the card.


You will need a couple things to do this card. A card base (#M41F28), score line (#M48E16). Later I will be using a heart for the shaped card (#M3DC16) and Cricut Alphabet.  All of these shapes and alphabets are free. Many of these images have layers. Ungroup.
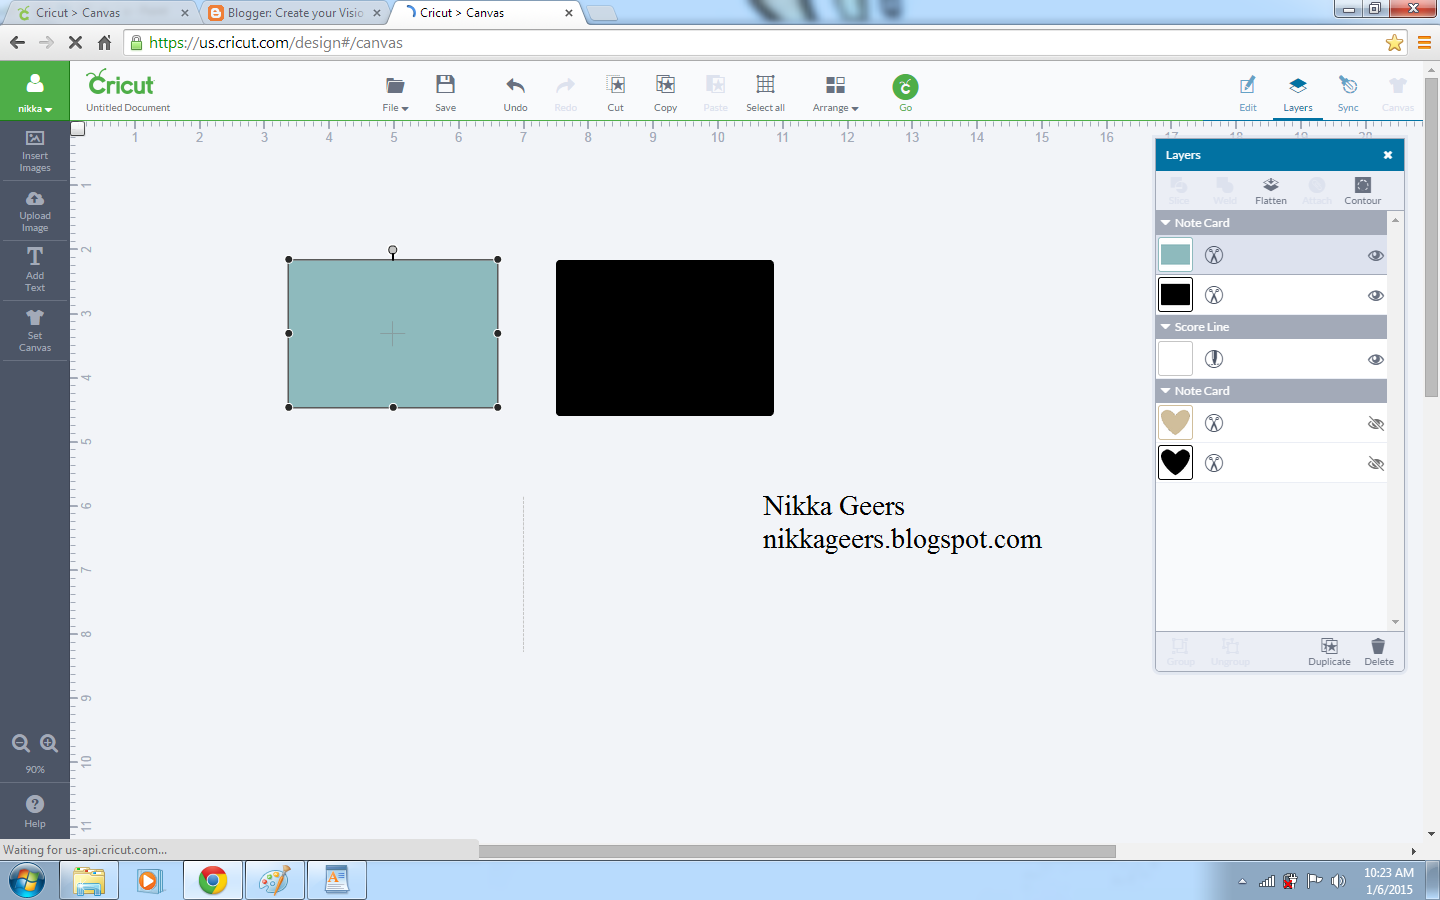


 Show all the layers, by clicking on the eyes that are crossed out. Delete any layers that are not needed.


You will need to choose what size you want the card to be. Remember one side will be double the size needed. When you go to change the size in the edit box, it will be locked so when you adjust one size, it will adjust the other size to keep it in proportion. Problem is, when you change the size to 5.5, the other size to 7.79. Which is not the size to make A2 card. 


Now you can keep this size if you don't really care about the size. If not, you can click the lock and adjust each size on its own. 


Add the score line. Change the size to the height. The easiest way to line this up is to place the card up in the corner. Then change the position. For x it will be 4.25 (or 5.5 for horizontal card). Y should be zero.


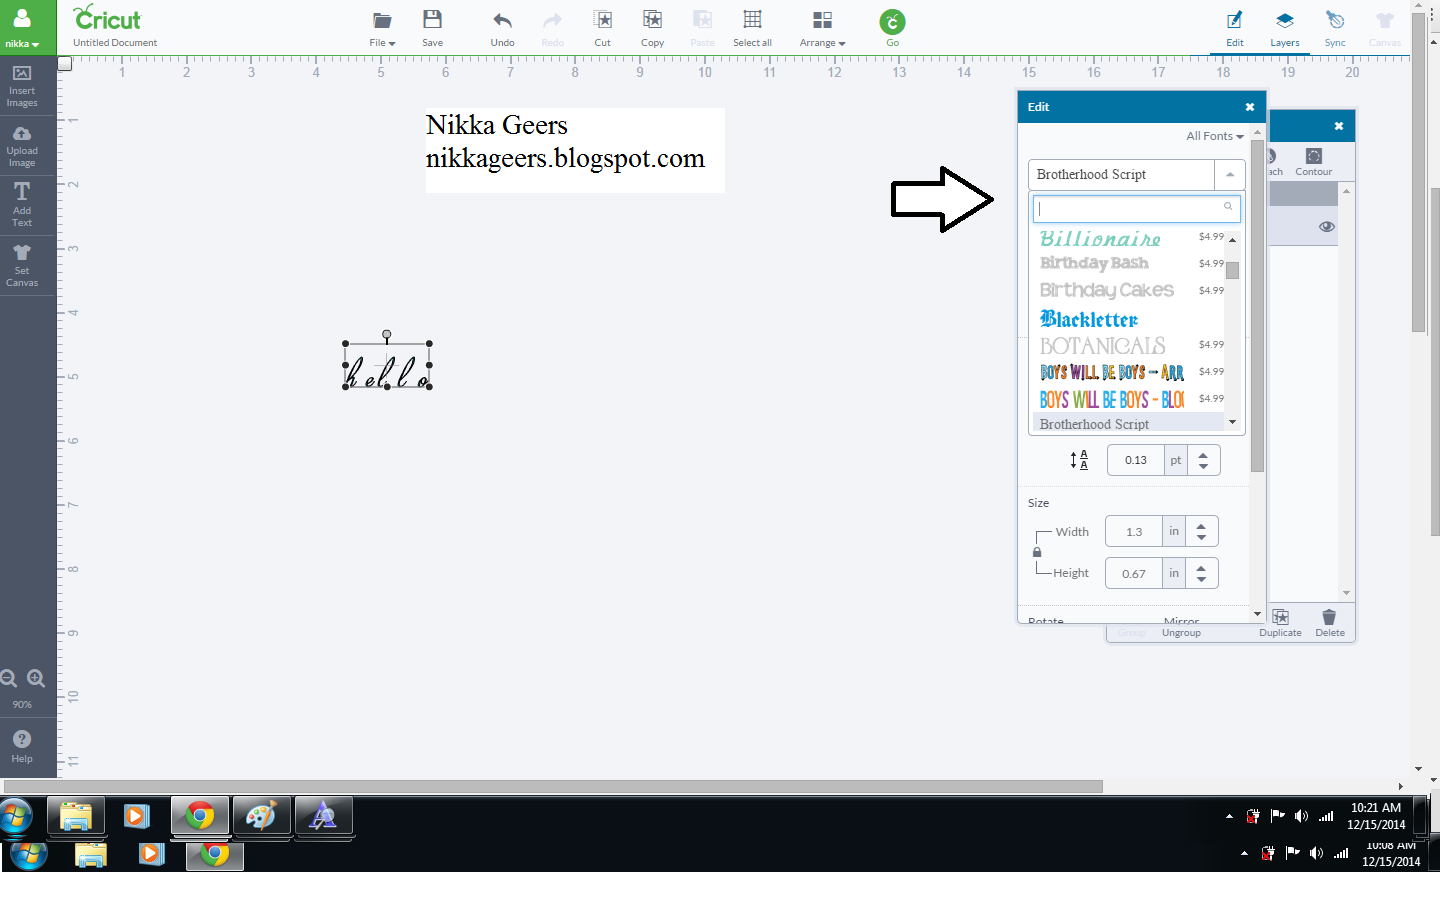
First we will do a cut out word. This will also be the same for an image. Add text. Place on card where you would like it. Select all. (sorry the arrow points to arrange but you want the one next to it) Attach.  This will now cut the word out and score down the center.


For writing, add text. Change to writing style. Place were you want it.


Select all and attach. This is write on the card and score.


For to do a shaped card. Choose the shape. Place where you want it. For A2, you will place the edge at 8.5. Change the card base to where you want the card to end and the shape to start. With the heart, I placed it in the center of the heart.


Select both layer and weld. 


You image is now welded together.


Now place the score line in the center like done before. Select all and attach.


Next is how to do cut out text. Add text. To do this, you need all upper case letters. They need to be the same height. Rotate. I just found this out, but see the circle surrounded by little circle. You can click on one of the circle and it will rotate to that position. Quick and easy.


Make sure to overlap the letters on the card. Select text and card base. Weld. 


 Add score line like shown before, select all and attach.

Hope you enjoyed this tutorial. Check other tutorials at my {tutorial page}.

To make sure you don't miss out on any new tutorials, artwork or members only specials, as it is easy to miss posts on Facebook and I don't post to all of them, join my {Facebook group}


Subscribe to my {Youtube Channel} for updates on new Create Your Card videos.

I offer one on one classes for Cricut Design Space. Stop by for more {details}.

Monday, January 5, 2015

Cricut Explore Tutorial - Upload Tutorial

Back again with another basic Design Space tutorial. This one is how to upload images. Lets get started.


 You can upload the following files into Design Space: .jpg .gif .png .bmp .svg and .dxf.   Basic upload is for ,jpg .gif .png. and .bmp. Vector upload is for .svg and .dxf.  Don't ask me what they are, I have no clue. If you aren't sure what file it is, look at the name. At the end of the file name, it will say .jpg ect.


First screen with basic upload. Just letting you know the 3 steps. really doesn't do anything.


Choose which file to upload.


There are 3 options to upload. We will go over each one. First, Simple Image upload. Use this for limited color, especially black and white image.


Once you upload, you will clean up the image. The wand is the easiest to use. Click the color you want to remove and it will take away all that color that is touching. 


I clicked the white background and it went away. The blue checker board means there is no image there. Anywhere that has color, including white, will cut. Make sure to remove the background so it will cut the image. You can also use the erase using the eraser. you can remove parts you want with the eraser. You can zoom in on the image by using the + - magnifying glass. If you make a mistake, there is the undo, redo right next to it. You can also crop with that weird looking symbol next to the eye.

How you erase makes a difference. The first star does not have the middle of the star removed. The second uses an eraser to remove the center.  The last has the center removed.


 Use the eye to see the cut line. Where it is red is where it will cut.

This is how the 3 images above cuts. When it is solid like the first one, it only cuts the outside. Erase will create a new cut line. The bottom will cut on the outside and the inside.


Next is Moderately Complex image. Use for images that have more colors. But not too detailed.


You can adjust how many color it will register. Under advance options, you can tell it how many color to register. Take the image above. If you want to remove the red flower, it would be easier if you reduce colors to make the red the same shade of red. 


Complex images is what you want to use if you are using print then cut. This will keep the image exactly as it is. 


See the difference? There is dew on the flower that was not visible in moderately complex.


One thing you want to make when you upload, especially if you are using print then cut, is to remove the background. this is what it will cut if you keep it the way it is on the photo above. Unless you want it to cut the rectangle, you will need to remove the background. 


Now once you remove the background, it will cut the flower silhouette. Even if you are doing print then cut, you need to clean up the background.


Step 3. This is where you save the image. This is where an important step comes into play. Below the picture is a box. Preserve original image. You want this box clicked for print then cut. It keeps the image exactly  as it is, with the color detail. The preview will show the image, plus the red outline that it will cut. It is hard to see the red cut line, but it is there.


If you do not want to use print then cut, just to cut the image, then unclick the button. It will change the preview to just the red cut line.
Here is where you change the name and add any tags. Tags will be key words it will search for when you use search. Yes, any image you upload will show up in insert image, just like any Cricut image.


Once you save, the image will pull up on the main upload screen. Here you can see the difference between print then cut and just cut. The full image will show. Cut only will be black.


Both print then cut and cut on the design canvas. The print will have the printer symbol next to it and will show up in color the whole design. Cut will be black and have the scissors next to it. Now if you come to this part and it shows print when you want it to cut, check out my {how to switch tutorial}.


Next is how to load a svg or dxf files. Choose vector upload for these.


 svg files are easy to upload. Just one step. Choose your file and name it. IF there are layers, it will show up as each layer. This flower has 3 parts to it. 

I hope this helps you when you go to upload images.  Check out my other {Design Space tutorials}

To make sure you don't miss out on any new tutorials, artwork or members only specials, as it is easy to miss posts on Facebook and I don't post to all of them, join my {Facebook group}


Subscribe to my {Youtube Channel} for updates on new Create Your Card videos.

I offer one on one classes for Cricut Design Space. Stop by for more {details}.

Heart 2 Heart Challenge - Something Old, Something New

Welcome to my first post and challenge for Heart 2 Heart.

This weeks challenge is Something Old, Something New.  Now this could be using old product with new product, using an old technique in a new way, even a wedding theme with something old and something new.  However you choose to do this challenge.


I chose to do an old idea in a new way, using new products.  Shaker cards.  This has been around forever and is coming back in style.  Now I have come up with some new ways to do shakers, like when I cut our boxes in half and made a shaker ornament.  I almost did that again. I still have the other half of the box. But I wanted to use some of our brand new product from or mini inspirations idea book.  They have some new Cut Above treat kits. One for Valentines day and one for birthdays. I used the Valentine's kit.  Now it comes as one sheet of pattern cardstock, already scored to fold into a bag with a window cut out to see inside. Perfect for a shaker box.  I didn't have to cut anything at all, expect to size it to the card length. The size of the bag is smaller than the size of an A2 card. I could have cut it down so it would be a 3 1/2 x 5 1/2 card, but I keep the size and used some of the paper from the Heartstrings paper pack.  I also included some of the stickers that come in the kit. I attached them to cardstock and cut them out to make giant "sequins" for the card. Now like I said, the sheet was already scored. Not really noticeable but gave me a chance to embellish. Use the new extra thick twine to cover it up and no one will ever know, except you since I told you my secret.  Trick that I use when it comes to fabric on paper, I use Liquid Glass. It works really well as a glue to glue down the project, but also seals the edges well so they don't come apart on the project.

I hope you join us at {Heart 2 Heart} to play along with this challenge. Remember, you will need to use a Close To My Heart product to play along. Order you products today at {nikkageers.ctmh.com} and start playing along.

To make sure you don't miss out on any new tutorials, artwork or members only specials, as it is easy to miss posts on Facebook and I don't post to all of them, join my {Facebook group}


Subscribe to my {Youtube Channel} for updates on new Create Your Card videos.

I offer one on one classes for Cricut Design Space. Stop by for more {details}.


Recipe:

Stamps -
   Mini Valentine M1052

Paper -
   Heartstrings Paper Pack X7193B
   White Daisy Cardstock 1385
   Cards and Envelopes X254

Ink-
   Black Ink Z2105

Other-
   Cut Above Valentine Treat Bag Kit Z2056
   Pixie Extra Thick Twine Z3035
   Foam Tape Z2060
   Liquid Glass Z679

Thursday, January 1, 2015

New Year Review


Happy New Years.  It is time to go through what you have done in 2014.  These are my 10 favorite projects throughout the year.


This guy was my last project featuring the newest items from our Mini. Topped off with a mustache and bowtie. Too cute.


This is from the Artfully Sent blog hop. And one of the first tutorials I did with the Explore.  Using the pocket card cut from the cartridge and slice, I was able to use the 25 from the image.


This is the second canvas I did like this. It was inspired by the baby one I did the year before.  Again I used Artfully Sent and slice to make the stencil for them embossing paste.


3D snowflakes. This project come from someone posting a picture and me going "I can do this". 


This little monster guy started actually from a owl stamp. But every time I saw the stamp, I saw a one eyed monster. 


These little foxes where part of a valentines set, but I wanted to make some cute baby cards. I love how they turned out.


I don't make scrapbooks that often. This was from a swap I participated in. Still took forever to design.


This bullseye card was from a flower stamp.  I always try to think outside of the box when it comes to the sotm. 


Another layout. When I get around to doing layouts, I love how they turn out. Another project using Artfully Sent. And christmas paper on a halloween layout.

Those are my 10 favorite projects.  This year I got the new Explore and I love it. I try to use it in almost every project. I started doing a tutorial with one of my projects and I got such a response that I did more. These are your favorite top 5 tutorials.


I am so glad you are liking my tutorials. I will be coming out with more so come back soon.

To get updates on new tutorials, artwork and specials, please join my {Facebook group}

Heart 2 Heart Design Team

I have some exciting news. I have been chosen as a design team member for Heart 2 Heart challenges. So {join us} Jan 5th for our newest challenge.  Remember, you will need to use a Close To My Heart item to play along. If you don't have any, you can order from {nikkageers.ctmh.com} and then join us for some new challenges.