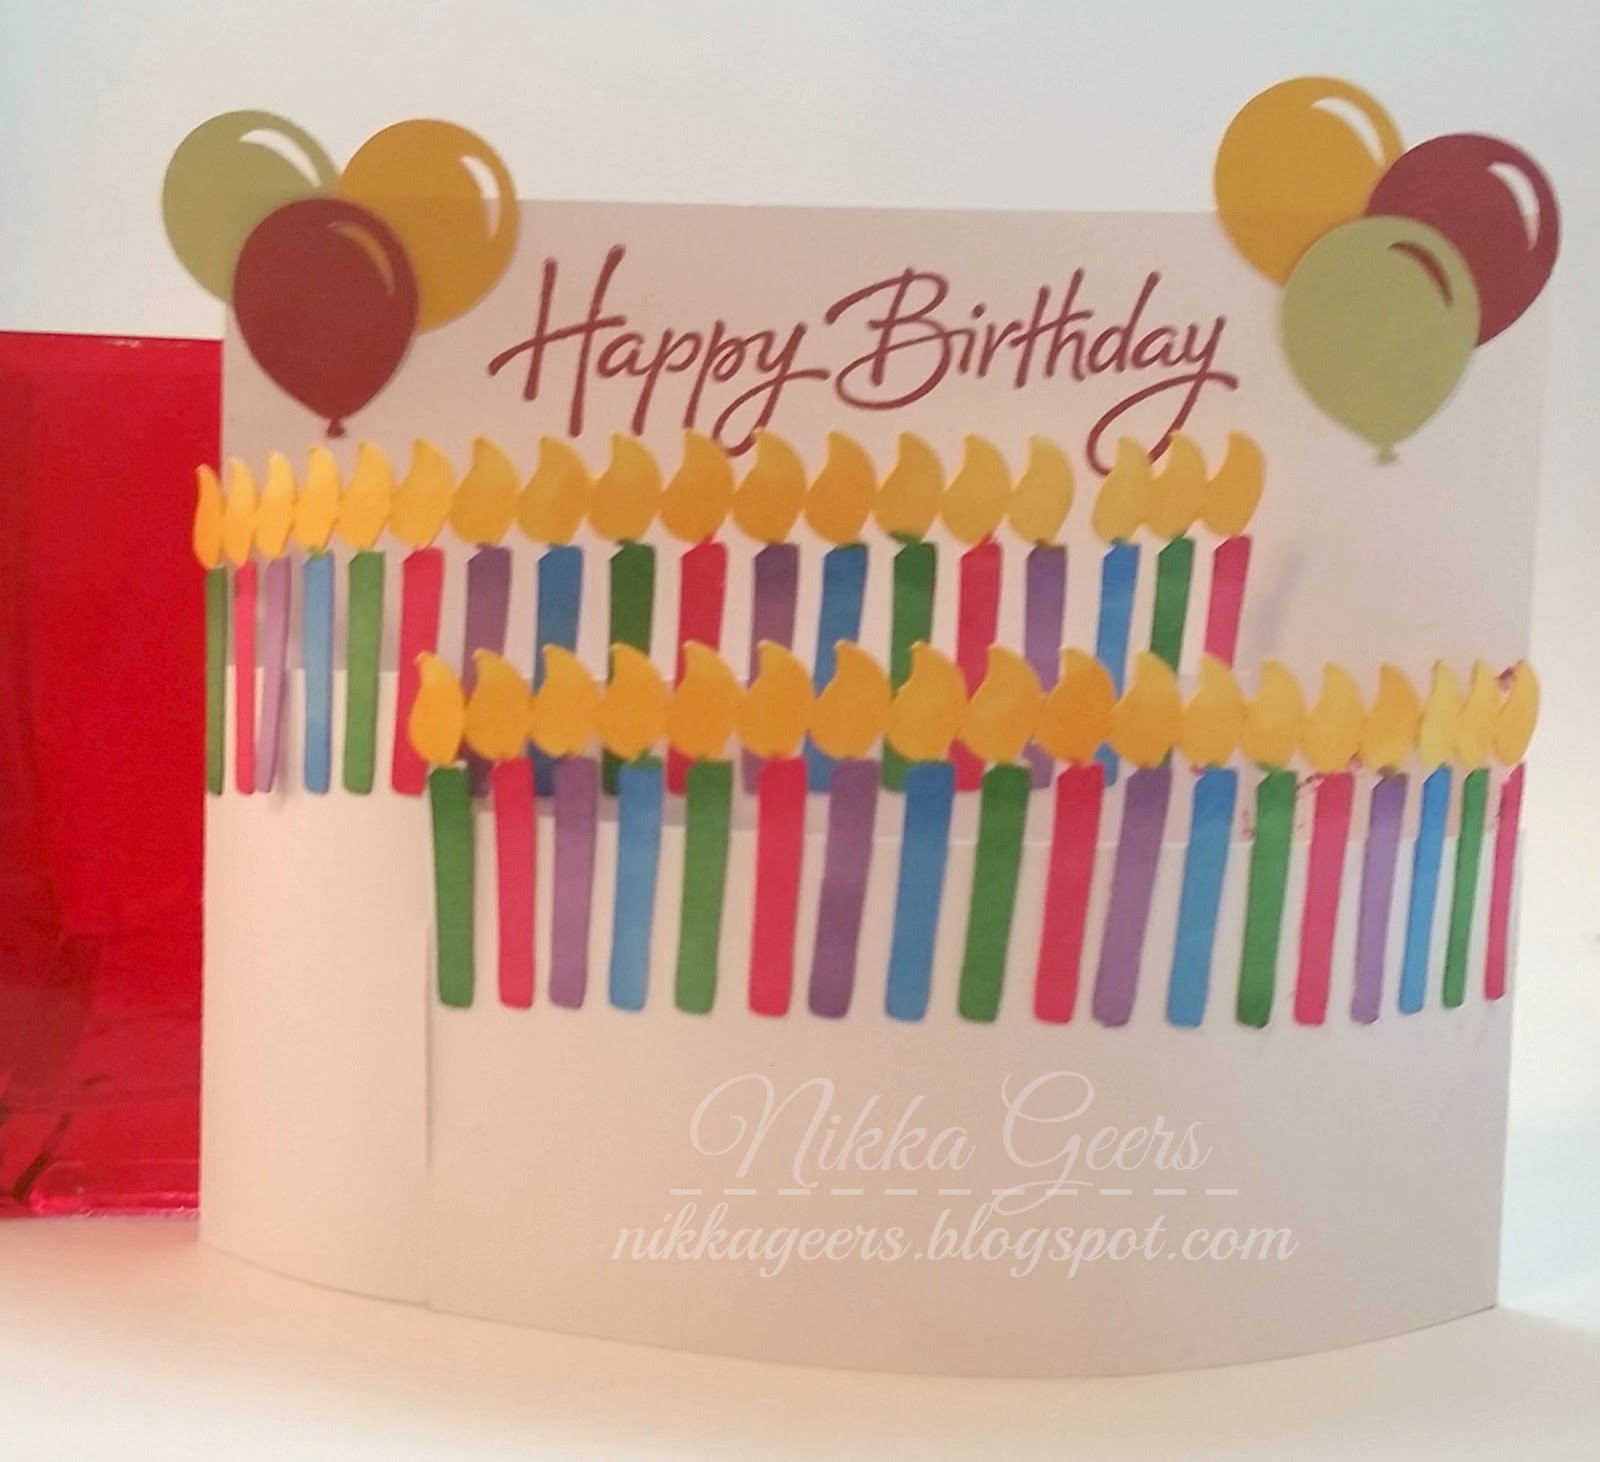
Hello. We have a new Create Your Card video for you today. This video was requested by Brenda Tucker-Newsome.

I have never heard of these cards before, but I was sent a photo. Here is how to make them with the Explore.
I am using the new feature, insert images. You will need three squares, two hexagons, and 4 score lines.
You will need to change the sizes. The card base will be 5.5 x 4.25. Flap 1 will be 5.5 x 2.5. Flap 2 will be 5.5 x 2. I changed the colors so you can see them in the next steps.
You will need to change the sizes off the hexagons to the height of 1 inch. Line it up on the edge. Panel 1 will be on the right and panel 2 will be on the left. Use the new feature, align, to center vertically. This feature is awesome. I like it better than the Ipad option because with the Ipad, it locks in when trying to move it.
Weld the hexagons to the panels.
Add score lines to each panel on the opposite side of the tabs, half an inch in. Select and attach.
Line up panel one with the card base. Use align to bottom align. You will place the cut line 1 inch from the right. Use the tab for placement and size of score line.
You will change the score lines to cut. Select and attach.
Line up panel 2 with panel 1 . Do the same as above, but place the score line 1.5 inches on the left side. Change to cut and attach.
Now if you you want a curved edge like above, here is how you can do this.
Use paint to make the curved line. It looks like a straight line.
To make it curved, you will be clicking once to make the first curve and click again to make the second curve. You can adjust the curve however you like. Save and import into Design Space. If you don't know how to do this, here is a tutorial on {how to upload an image}.
This is how I decorated the card. I used candles (#M347B4 from Wild Card) and balloons (#M45A50 from Artiste)
A trick I used for this. When you duplicate, it comes line diagonally. I used align top and they laid out perfectly so I can weld together.
Subscribe to my {Youtube Channel} for updates on new Create Your Card videos.
If you would like to check out my other tutorials, visit my {tutorial page}.
To make sure you don't miss out on any new tutorials, artwork or members only specials, as it is easy to miss posts on Facebook and I don't post to all of them, join my {Facebook group}
I offer one on one classes for Cricut Design Space. Stop by for more {details}.
I offer one on one classes for Cricut Design Space. Stop by for more {details}.
To purchase the items to recreate this card, place your order at {nikkageers.ctmh.com}
Recipe:
Happy Birthday Bendi Card
Stamps -
B1419 Joyful Birthday
Paper -
X5668 Honey Cardstock
X5927 Ruby Cardstock
X5639 Sweet Leaf Cardstock
1385 White Daisy Cardstock
Ink -
Z2170 Ruby Ink Pad
Z2466 Vivid Green ShinHan Marker
Z2449 Cerulean Blue Light ShinHan Marker
Z2453 Lavender ShinHan Marker
Z2450 Cherry Pink ShinHan Marker
Z2452 Golden Yellow ShinHan Marker
Other -
1512 Bonding Memories Glue Pen
Z1790 Artiste Cricut Cartridge


You are so clever and love your tutorial!!
ReplyDelete